Tuesday, April 3, 2018

First Quarter Goals - #2018FALQ1


So I did it - I finished all my first quarter goals! If you aren't familiar with this group, please jump over to Beth at She Can Quilt.  Everything you to need to know is right there.  My list was three quilts to get done....and I did...HAPPY DANCE.💃  I'm grateful to the three sites that keep me honest and am pleased to see my quarterly report completed.  

The first finish was in January and was My Funky Pine Trees.  Here is the blog where I listed as a goal and here is the completed blog entry.  I'll leave you with before and after pictures - just to keep it all honest.

Funky Pine Trees before finish
Funky Pine Trees, completed

Next up was the baby quilt, Fancy Forrest.  It is now named "Fancy Forerest Deux" and has been given to a coworker who is expecting her first son in May. I am doing a happy dance for both quilt and baby!  Here is its before entry and the finish entry.

Finished "Fancy Forrest Deux"
Before Fancy Forrest


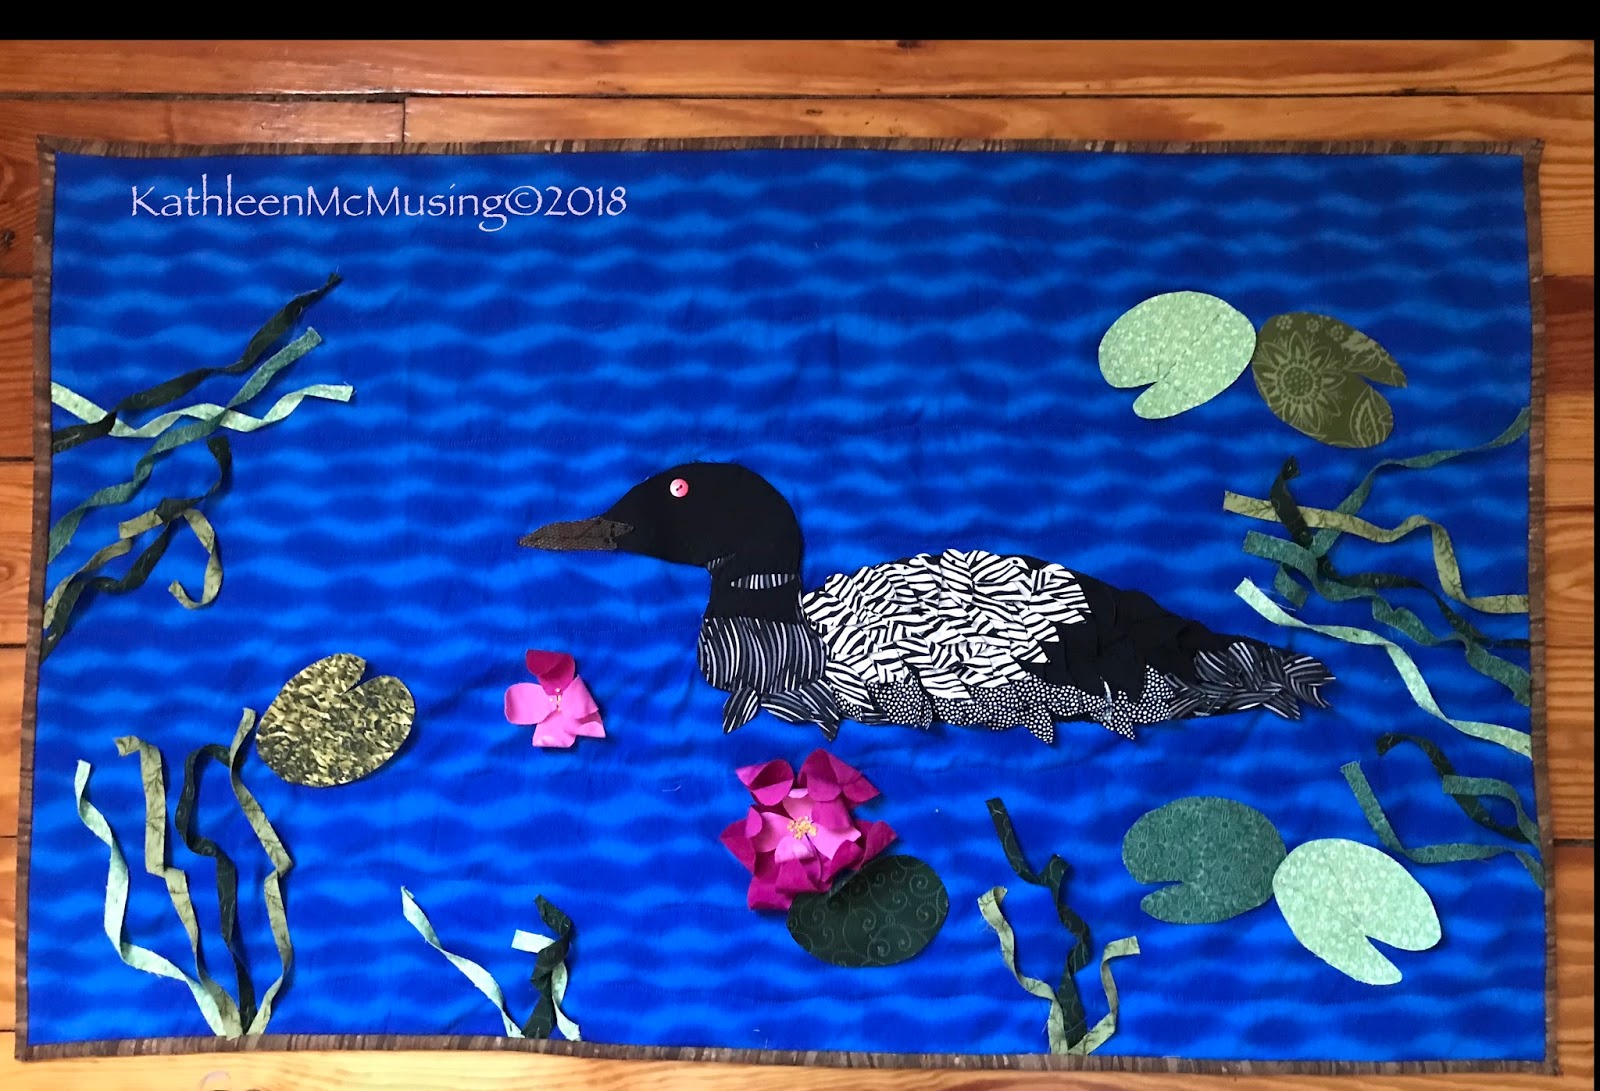
And last, but not least is the loon.  My father always recited something from Pogo about the the loon - which I remember the line as "and only the loon is lorne".  I love the finish product and it will hang somewhere in our Maine Cottage.  Here is the  before blog and the after blog!

Before finish - some work done on it
Finished Quilt

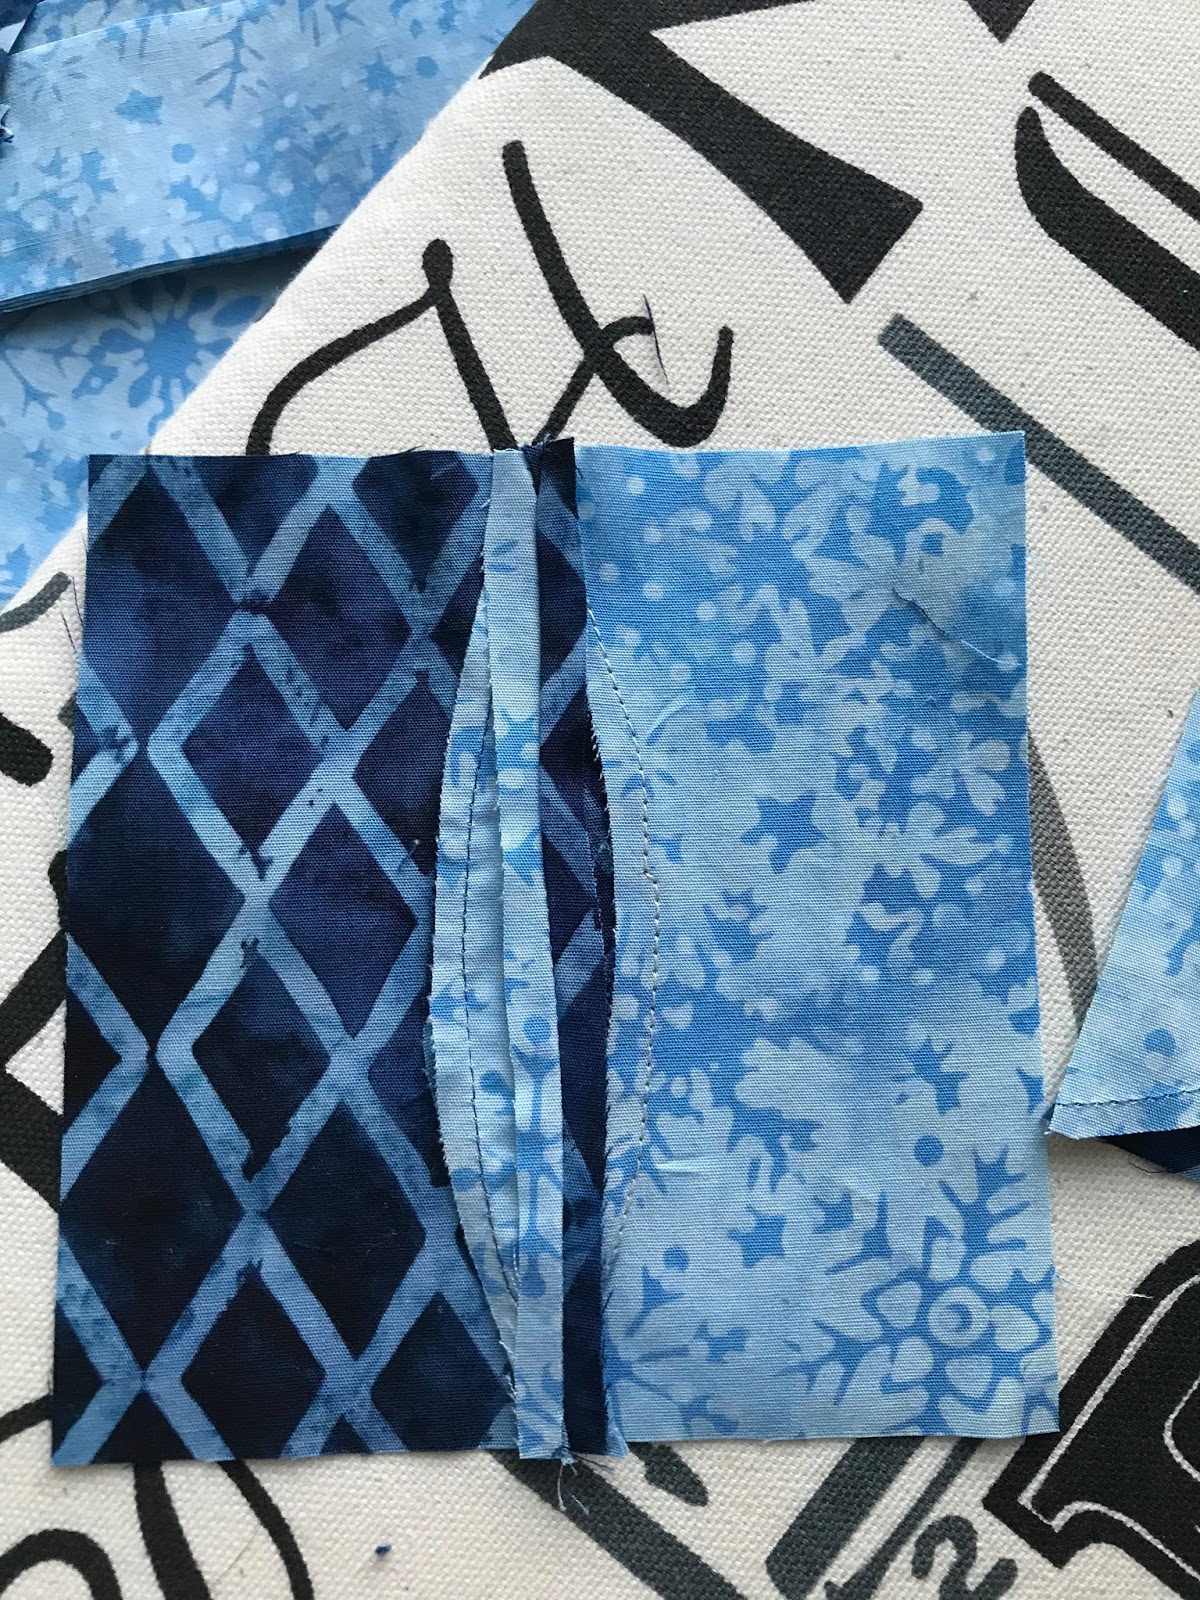
And at the time I knew I would be doing some Batik Ambassador pieces but not much more - three of those were completed too!  Its been a good run for the beginning of the year.


Linking up to 2018FALQ1!


Tuesday, March 27, 2018

March UFO Done - OMG Finish and APQResolution

This quilt has spend a couple of years on my UFO lists but, happily, I can report that it is finished.  This quilt was for my OneMonthlyGoal and my APQResolution2018 lists and my #2018FALQ1.  I bought the pattern years ago (probably 10) but who's counting.  It took me a long time to find the fabrics for the loon and I think they are nearly perfect!  And then, I just hesitated or procrastinated or was too afraid to start the technique on my own.
The pattern is from Joan Shay whose technique is called Petal Play Appli-bond©.  This pattern is  called Loon and Water Lilies.   More about her technique and patterns are available at her website.  
You use HeatnBond©Ultra Hold and use this between two layers of one fabric.  The HeatnBond allows you to attach the pieces and they can hold there shape(like the petals) or hang loose(like the feathers) or twist the like reeds.  For instance, the petals are bonded once, then you press for a few seconds and curl them!  They hold their curl.   Joan also sells something called AppliBond needles which are able to go through the HeatNBond and fabric - they seem to have a three-pointed needle (I am imaging that leather needles are like this).  I do love that I had this bright pink in a number of shades and blended them with the flowers.  The feathers, however are my favorite part.

So, this completes my OMG and my APQ Resolution for March.  YIPPEE!

Linking up to:  Elm Street Quilts/One Monthly Goal

Quilt stats:
"Loon on a Lake"  22x33
Pattern:  Loon and Water Lilies by Joan Shay

Next months project will be up soon.   I expect it may be finishing a piece I am working on today in Paula Nadelstern's class.  It is a great class - take it if you ever get the chance.


Friday, March 23, 2018

Island Batik: Try A Technique

Island Batik Ambassadors were asked this month to try a technique.  It didn't have to be a particular size or use a particular line - so the sky was the limit (the fabrics were provided by Island Batik).   I have been quilting a long time, and worked in a quilt store, so I have tried a lot of techniques.  What to do???
In April, while I was still working at Cambridge Quilts, Linda Warren stopped by with her ruler and some patterns.  While I couldn't make a decision for the store to buy it, I liked it enough to by one for me.  The ruler is not very large - pieces will finish either 2" or 4".  The pattern I chose would make a 12" block.  There wasn't a lot of fabric, so I had to be careful
 So, here it is - my new technique is using the ruler called "The Learning Curve".  This ruler is quite fun.  You can get wonderful circles and create wavy borders.  You can find her patterns and her ruler at Linda Warren Designs and also follow her on facebook.
The first order of business was this test block.  I loved the technique and so I chose my fabrics. One thing about me is I never do the easiest pattern first - always the hardest. I did watch one of her videos, too, just to be sure that I knew what I was doing.
Island Batik sent quite a few fabrics, but it is always hard to decide which group to jump in and use.  I figured since we have been in the winter of our discontent with 3 Nor'easters in March, I would do my Nor'easter quilt!   I would use Alpine Ice!  Here is one of the pictures that helped me figure out what I wanted to use.  The middle fabric with snowflakes was a little bluer/brighter than the others so I pulled it. out.  Funny that the background looks much whiter in that picture.

Linda's business card had the setting I used with a kind of gradation of color across it.  I loved the one on her business card but was afraid it would be too busy.  I made one section and loved it!  I tried to group the fabrics to make it work, but mostly, it think it helped the prints be in a little more control.  The other batiks I had were just not going to work, so I decided to go ahead.

It is a good idea to press seams open and use a stiletto.  I never liked pressing seams open, a hard habit to break.  I find myself doing it more and more.  The stiletto really helped control the curved piecing  and no pins were damaged in this exercise. 😉
 There was a lot of trimming.  Her technique has a good way of giving you plenty of help to get those curves nicely done.   Mostly what I liked is that it all really worked well - no puckering - no redoing of seams.  I pressed to the dark batiks and that allowed the pieces to nest well when I got to joining the blocks.  I highly recommend this ruler.  It is a simple easy solution to get some great curves in your blocks!
I chain piece when I can, because why not!

Here is the final quilt!
You can see the quilting on the back, pretty simple as it is a small piece.   I used Hobbs Thermore batting for this quilt (generously provided by them) and I loved the way it behaved.  It is thin but has a bit of loft.  Quite nice! Notice there are triangles I used for hanging smaller pieces.
In case you were wondering what a whole quilt might look like here's an example. I used a program called Layout on my Iphone to do this.   Note, there is a double row that acts differently and interrupts the interlocking circles,  but you get the idea.  If you want to see others, you can go to Linda's facebook page from here.

And a final look!

"The Winter Of My Discontent - 2018"  20.5" x 20.5"
Island Batik fabrics from the Alpine Lace Line
Hobbs Thermore Batting
Machine pieced and quilted


Monday, March 19, 2018

#365DaysOf ArtPBQChallenge - Week 11 - Exercises 71-77

71:  Add shadows to the glass bottles.  Try different ways of drawing them.
I found this one to be fun.  Not sure I found a lot of different ways of drawing them.


72:  Create a design or pattern
I enjoyed this one too.  Did a rather larger design as I had less time than I would have liked, but I found it pretty much fun.

73:  Add trees to this half page.
I took Sherry's approach and did the trunks first this time.  I liked that better.


74:Draw the weather today.
Good thing it was a sunny day with clouds.  The nor'easter this week would have been blank!  I really just gave this a passing sketch - very fast and not really dark enough.


75:Draw something that you have seen today.
OK - I did this Sunday not Friday when we were in Maine.  A bit of the coastline - I am no Winslow Homer-  but I liked doing it.

76.  Draw an object using colored pencils.  Use the background as a mid-tone.  Use light colors to draw the highlights and darker colors to draw the shadows.
I did a strawberry.  I enjoyed this but the lights were hard to get to work. I think this may be my best work this week.


77:  Explore colors that look good together.  Fill in with colors that work well as a group.
Of course, I would like this - whats not to like about working with color for a quilter.

All in all, a pretty good week in the drawing world. I do need to take these pictures as I go and in the daylight.  My apologies.

In my quilting life:
I worked on quilt with a new technique for my #IslandBatikAmbassador as well as working on my OMG - the loon.  I am nearly finished both, so we'll see which I blog about first!

Linking to:  Powered by Quilting #365DaysOfArt

Sunday, March 11, 2018

#365DaysOfArtPBQChallenge Week 10, Exercises 64-70


64:  Continue to add flowers to the meadow:  I enjoyed this, but didn't feel like drawing a lot, should have been using my markers.


65:  Calligraphy practice:  Joining thin and thick strokes in a U:  Finally got a few calligraphy pens.  This was ok, but somehow maybe the wrong letters for me.  Certainly got the hang of it, but drawing U's that way felt artificial.


66: Fill the squares with different marks:  Loved doing this one.  Took some inspiration from things in the room, some from things I have been seeing or think of for quilting patterns.


67:  Complete the pattern:  I enjoyed this.  Used better pens for this, so it was easier, the inner circles got a little harder as I got sloppy with the squares.


68:Using  black fineliner, draw your hand.  I suggest you draw the hand that is drawing. Start by drawing the nib of the pen, then work up:  I rather liked this one, but not the pen.  Its a little off but not bad for drawing with a pen.


69:  Continue creating your own patterns.  Select cool, calming colors:  Adored doing this.  Just having more and more fun with patterns.  Why is that not surprising?


70: Experiment with different art materials to discover what you enjoy using.  Today, use colored pencils to create different marks.  Try using the side of the nib to create broader lines, and blending different colors.  Apply more or less pressure to change the intensity.   This was fun.  I got some other kinds of colored pens, that I can wet with water, and they were used in this exercise.  Really like the overlapping rainbow at the bottom.

Not a bad week - patterns are getting easier, but repetitive tasks sometimes don't engage my thoughts.


Link to:  Powered by Quilting #365DaysOfArt

Friday, March 9, 2018

Squiggle Finish


This quilt was a lot of fun to do.  I did it as a quilt along with Christa Quilts and it is all done.   The schedule was relaxed enough and I took the same break as Christa did, due to getting some Island Batik work done. The pattern is from her book Piece and Quilt with Precuts I think I like for the following reasons:
  • it was not one of my ufo's - so I had no emotional blocks
  • it was a well structured QAL
  • it used up a charm pack I won and, most importantly,
  • it will be a benefit quilt.

I won this group of fat quarters last fall during the Quilt Bloggers Festival.  They are from Moda and called Midnight Garden by 1Canoe2 and I thought they would be perfect for this quilt!  They were paired with a Moda Grunge and it made a great combination.

I used my Sizzix (affliate link - if you buy I get a little commision) for the first time to cut the squares and make the triangles.  It also saved the marking of the many squares.  And, with the leftovers, I cut some 2 1/2" strips.  I loved using it and know it will come in handy.  I don't forsee a huge collection of dies for me, but some of the common sizes or scrap busting sizes I will definitely use (5" square, 2 1/2" triangle,  2 1/2" strips are the basic ones I have now).  

Another fun thing was quilting as Christa did.  I used the squiggles and enjoyed the process.   It definitely is a new go to quilting pattern for me, as is the quilt pattern.


Another part of the fun of this quilt was doing it with a few of my blogging friends.  It was another nice little incentive to getting this done and staying up with the schedule. The participants included:
Wenday @ Pieceful Thoughts of My Quilting Life, Jan @CocoaQuilts and the instigator, Rose @ SomethingRoseMade. [Rose says Jan instigated - no matter - it was fun to do it with 2017 New Quilt Blogger friends!]

Its a great go-to pattern for 5" squares  - I see more of these in my future.  My version measured 46" x 59".  I had a little less fabric than needed, but I made it work!  Thanks, ChristaQuilts for a fun quiltalong!

Linking up with:  Finish It Up Friday
                             Friday Foto Fun
                             Finished or Not Friday
                             Pieceful Sunday